3D surface wear imaging
Challenge
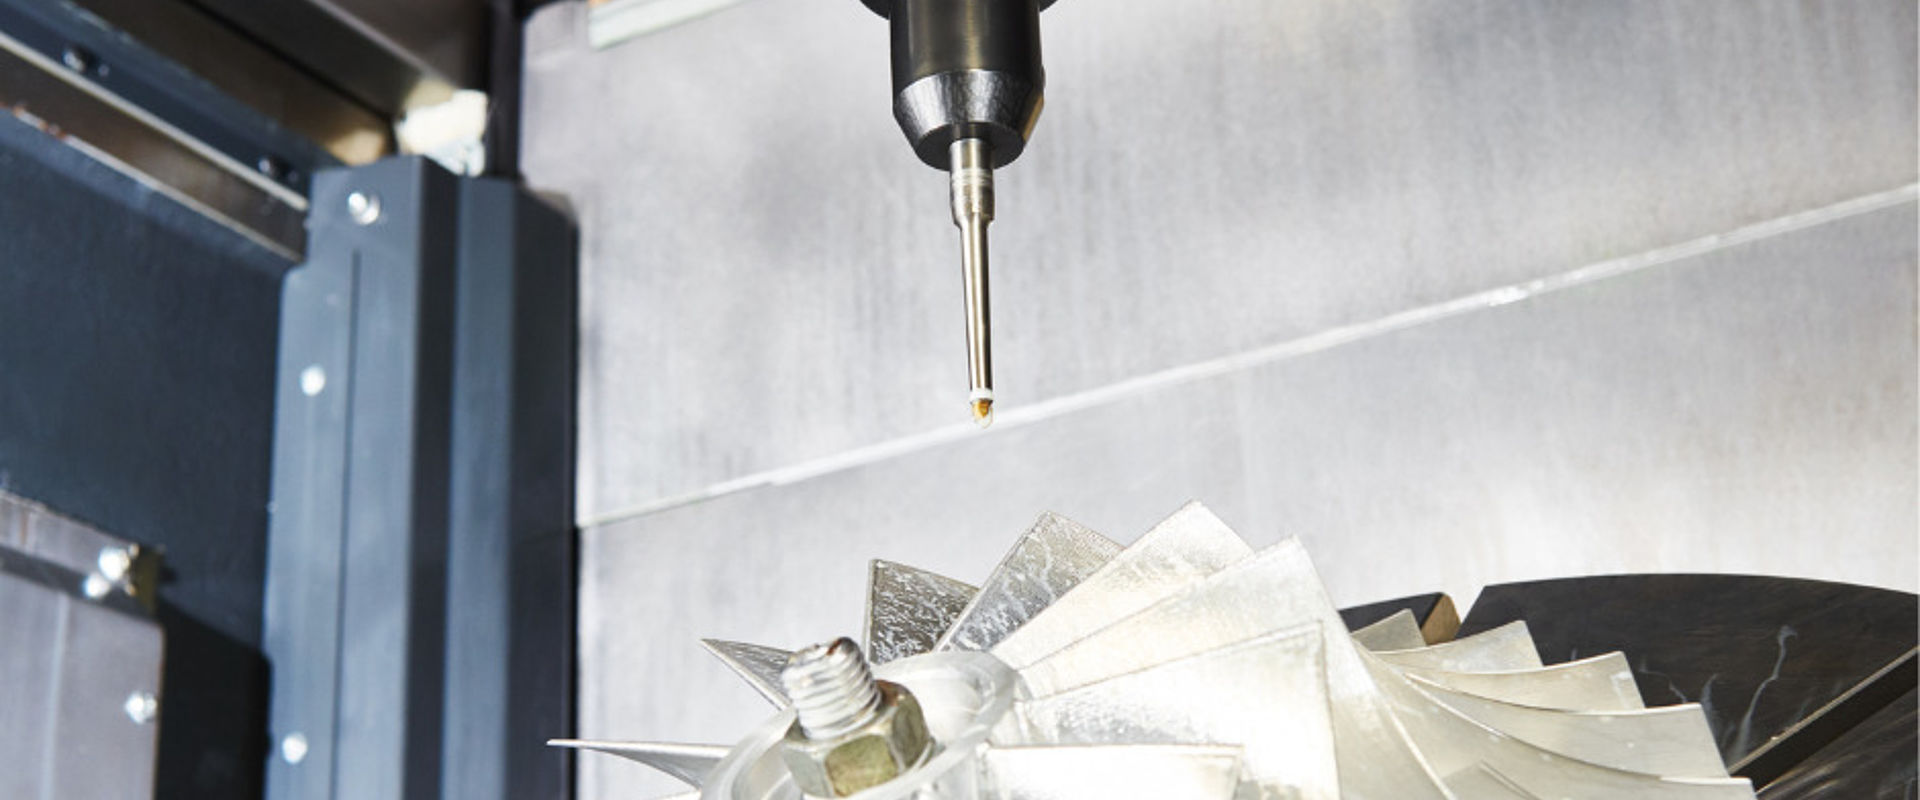
Milling and cutting tools, used in precision manufacturing, are subject to wear with use. Tools designed with specific profiles can develop worn surfaces or ridges. These micron-scale flaws affect performance, meaning tools do not produce products as intended. This leads to higher component rejection rates, higher costs and manufacturing delays.
Understanding how materials wear over time is important for developing wear resistant tools. Improved surface measurement methods and reliable 3D visualisations can help tool manufacturers study such surfaces and improve designs. However, current measurement methods have challenges. One technique involves rubbing the surface with radioactive materials and measuring the location of retained radioactivity, but this presents a hazard. Another uses a surface probe which scans across the surface, but this is time consuming and can cause further damage.
Very precise surface measurements can be taken using scanning electron microscopes (SEM), however these images are 2D. They can detect surface imperfections, but not the depth or height of the imperfection. Being able to combine multiple SEM measurements to form 3D visualisations with the SEM accuracy will help manufacturers better understand the profile of tool surfaces. This will help them research, develop and test more durable tools, limiting the impact of wear on advanced manufacturing processes.
Solution
The EMRP Project Metrology to assess the durability and function of engineered surfaces, developed a system for combining SEM images from different angles and an improved software model to give a 3D surface reconstruction and visualisation of surface wear features.
Extensive measurements were taken of samples before and after wear testing, giving data on surface changes introduced by wear. These were used to generate a range of simulated 2D SEM images of generalised features often found on surfaces which have undergone wear. These images were produced at a range of different angles, and were then used to further refine software for modelling 3D visualisations of wear surfaces. The testing has also helped improve the reliability of SEM surface reconstruction for small wear effects on engineered surfaces and coatings.
Impact
Alicona Imaging GmbH, a provider of optical 3D surface measurement solutions for lab based and production quality assurance, has improved confidence in a unique 3D measurement tool through its involvement with the project, delivering improved measurements to industries where surface roughness is important.
Alicona markets a standalone software package, MeX, which uses stereoscopic SEM images to produce 3D images of surface features, enabling roughness and volume analysis. Alicona was able to use the accurate images developed by the project to make comparisons and evaluate the performance of its MeX software. This has provided independent verification of MeX’s accuracy and generated increased confidence in measurements of 3D features during component wear evaluations.
Alicona’s customers include machine tool, steel and forensics companies. Access to this new software gives them more confidence in the measurement of surface features, aiding research into new products with improved surface properties.
- Category
- EMRP,
- Industry,