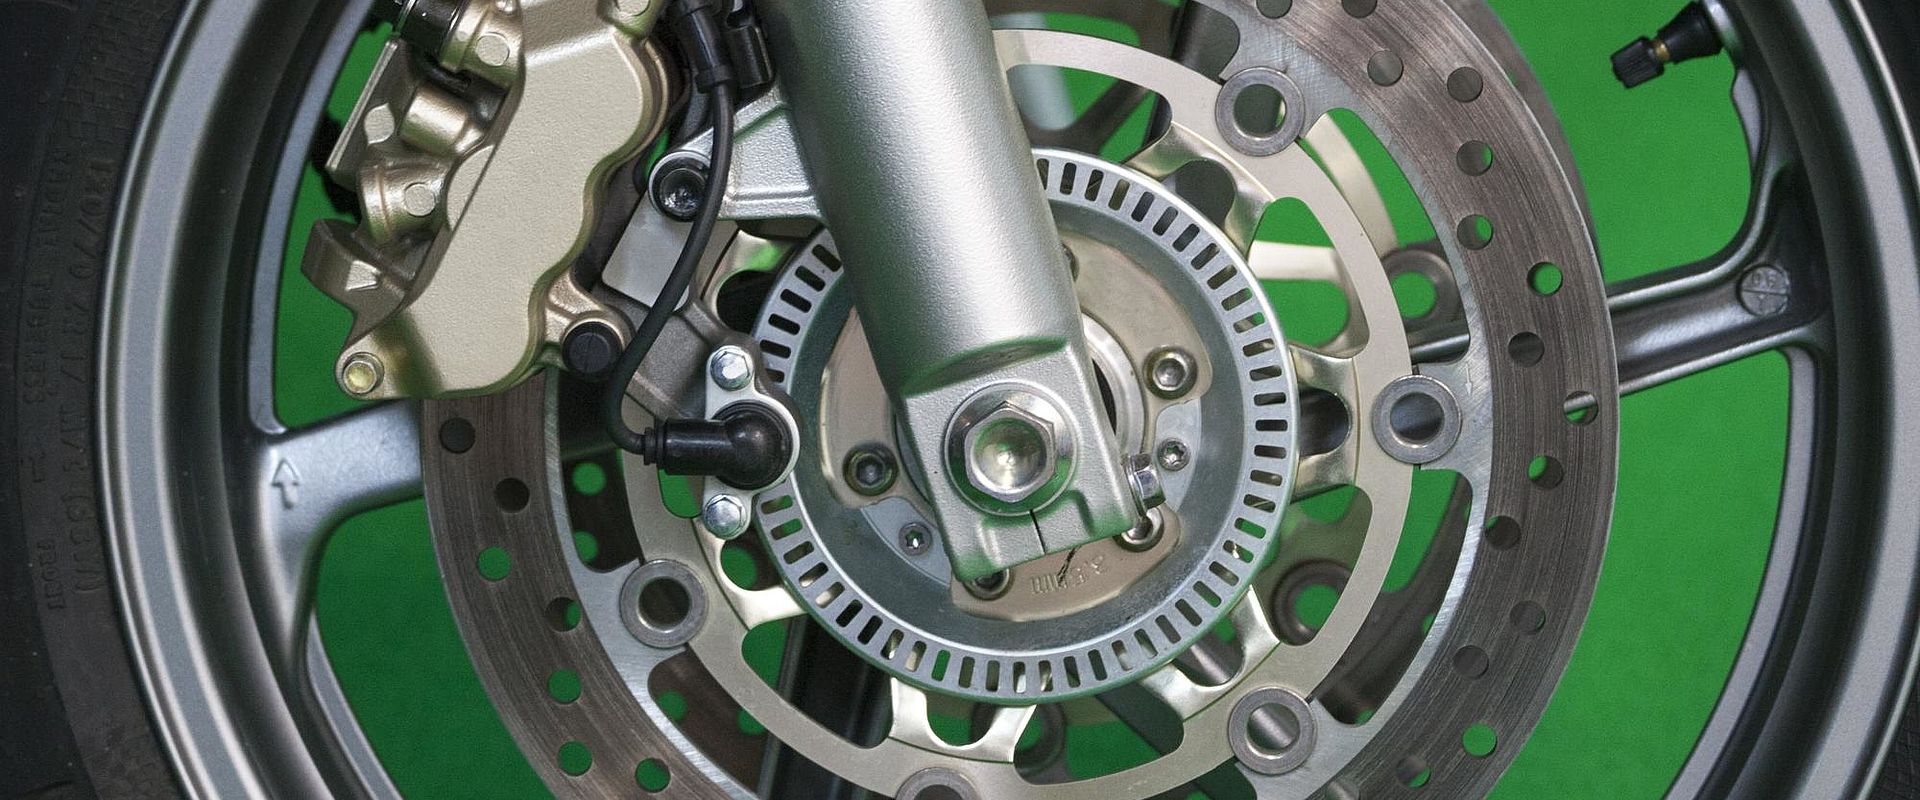
Temperature and friction testing
Challenge
Many engineering products, such as car clutch assemblies and machine tools, undergo high friction during their service life. New materials are constantly being investigated that will provide better performance and increased durability against friction or chemical degradation. Such products require rigorous testing to understand how they will perform in-service.
During the R&D process, these materials are subjected to frictions which simulate those they will undergo in-service. This process, known as tribology, involves a precision probe in contact with a moving surface.
One problem is that the probe creates high temperatures at the point of contact, affecting the reliability of measurements and even changing the material’s mechanical properties. This temperature is not evenly distributed, so whilst the applied friction may raise the overall material temperature by 10 o C, points where friction is applied can raise by 400 o C. This is not captured by current measurements which look at the average temperature change of the bulk material.
It is important to know the exact temperature effects created by friction testing so corrections to friction measurements and calculations can be made. Therefore it is necessary to accurately measure the temperature at the specific point of contact as well as across the whole material.
Solution
The EMRP project Metrology to assess the durability and function of engineered surfaces developed a novel testing probe made of industrial ruby. When ruby is made to fluoresce using a laser, it creates a temperature sensitive response, which can be measured accurately to provide the exact temperature at the point of contact. This was verified by testing and comparison with other independent temperature measurement techniques as part of the project.
The ruby tip both supplies the test probe for generating friction, and a method of making surface temperature measurements. By incorporating both into a single probe, reliable temperature measurements can be taken at the point of contact allowing accurate corrections for temperature.
Impact
The ruby based temperature measurements developed by the project can now be incorporated into probe tips for measuring friction on engineered surfaces. This will provide in-situ temperature measurements, leading to greater accuracy in the study of the durability of new industrial components.
A patent application has been made by INRIM, Italy’s national metrology institute, and two instrument manufacturers are keen to incorporate the ruby probe tip into their existing instruments.
It has been estimated that the UK economy alone loses £24 billion (1.6 per cent of the country’s GDP) every year because of problems with friction, wear and lubrication in transport, manufacturing, energy and life sciences. The improved measurement capability will benefit a variety of industries through improved in-service life times of friction components reducing maintenance costs and in-service failure rates.
- Category
- Industry,
- EMRP,